
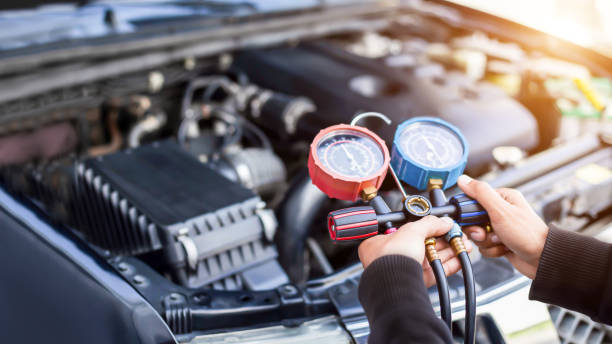
The blower motor resistor is a crucial component of a vehicle’s HVAC (Heating, Ventilation, and Air Conditioning) system. This small but important part controls the fan speed of the blower motor. When it fails, it can result in the loss of fan speed control, making it difficult to regulate the interior temperature of the vehicle. Understanding how to replace a faulty blower motor resistor can save time and money while ensuring comfort in all driving conditions. This guide will walk through the steps necessary to successfully replace a blower motor resistor, providing valuable insights and tips along the way.
Understanding the Blower Motor Resistor
A blower motor resistor is a component that controls the speed of the blower fan. It does this by varying the amount of electrical current that reaches the fan motor. Typically, a resistor is responsible for multiple fan speed settings in a vehicle, such as low, medium, and high.
Signs of a Faulty Blower Motor Resistor
- Inability to adjust the fan speed.
- Fan only operates at one speed, often the highest.
- No air coming from the vents despite the fan being on.
These symptoms suggest a problem with the blower motor resistor or the associated wiring, necessitating a replacement.
Steps to Replace a Blower Motor Resistor
Replacing a blower motor resistor is a straightforward task that can be accomplished with basic tools and a little patience. Here”?s a step-by-step guide:
Preparation
- Gather necessary tools: screwdrivers, socket set, and a new blower motor fan resistor matching your vehicle’s specifications.
- Disconnect the vehicle’s battery to ensure safety.
- Consult the vehicle’s manual for specific instructions related to your model.
Removal of the Old Resistor
- Locate the blower motor resistor. It is usually found near the blower motor under the dashboard or behind the glove compartment.
- Remove any panels or covers obstructing access to the resistor.
- Disconnect the wiring harness from the resistor.
- Unscrew or unclip the resistor from its mounting position.
- Carefully remove the old resistor from the vehicle.
Installation of the New Resistor
- Position the new blower motor resistor in place of the old one.
- Secure the resistor with screws or clips, ensuring it is tightly fastened.
- Reconnect the wiring harness to the new resistor.
- Replace any panels or covers that were removed.
Testing
- Reconnect the vehicle’s battery.
- Start the vehicle and test all fan speeds to ensure the new resistor is functioning properly.
Conclusion
Understanding the role and function of a blower motor resistor is essential for maintaining a comfortable driving environment. While it might seem daunting at first, replacing a faulty resistor is a manageable task that can be done with minimal tools and time. Regular maintenance and attention to the HVAC system can prevent future issues and prolong the lifespan of the vehicle’s components. For those who prefer professional assistance, many automotive service providers offer comprehensive services for HVAC systems, ensuring optimal performance and reliability. Whether taking a DIY approach or seeking expert help, maintaining a functional blower motor resistor is key to enjoying a comfortable driving experience.