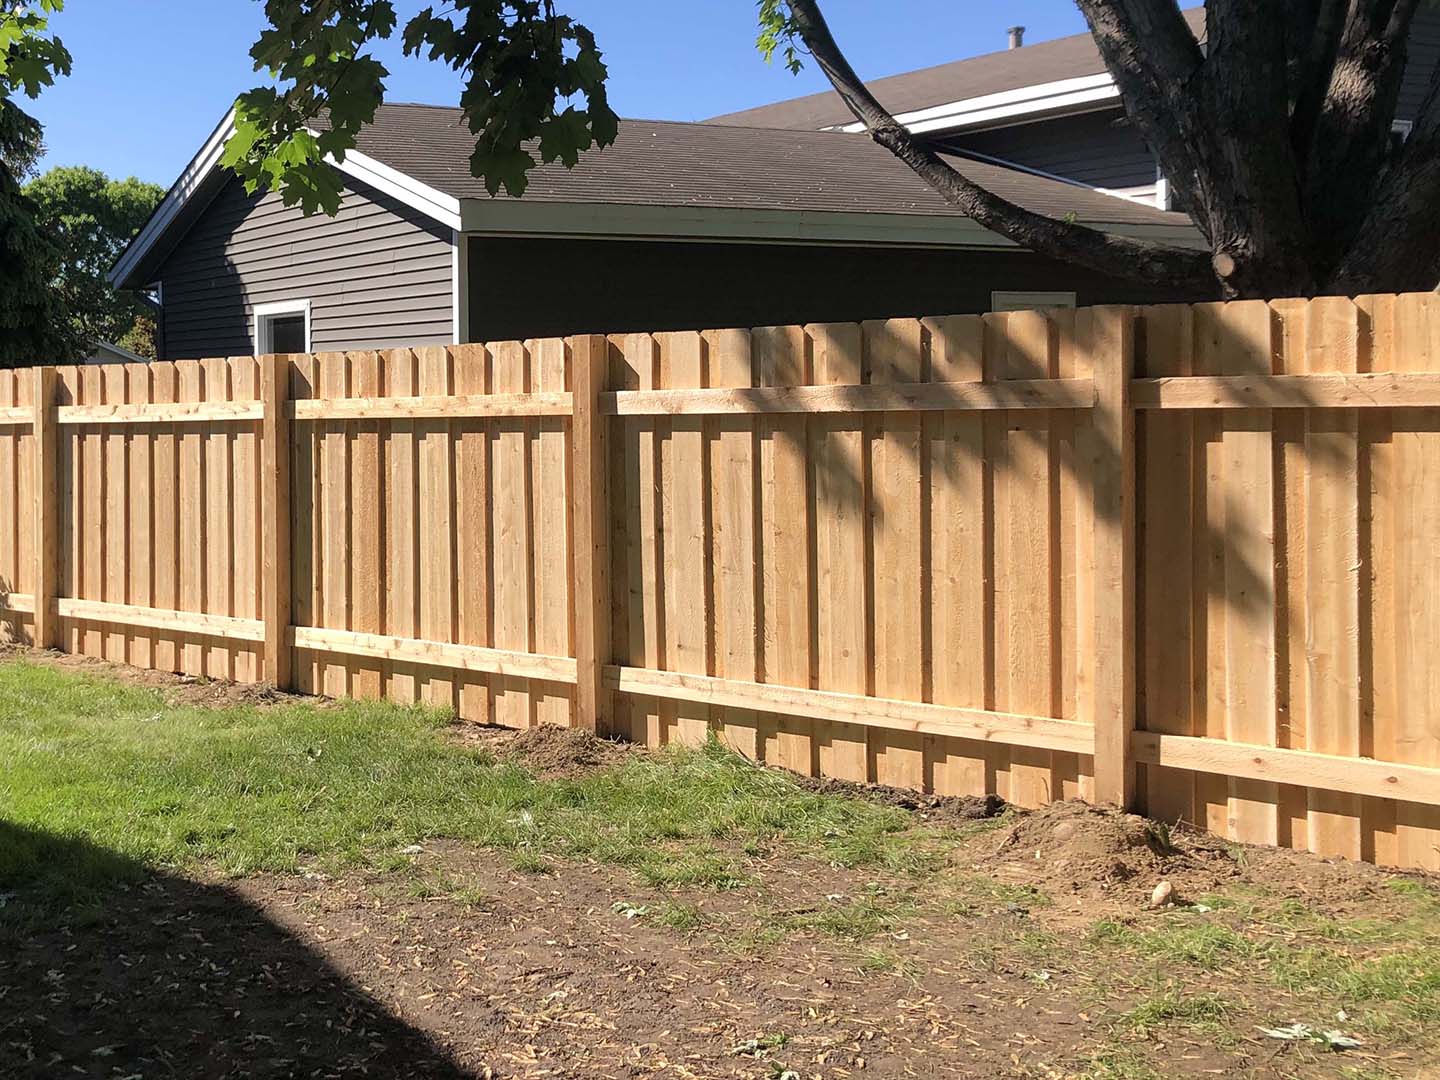
Adding a wood fence to your property can significantly enhance its curb appeal. Not only does it provide privacy and security, but it also adds a touch of warmth and natural beauty to your outdoor space. Wood fence panel installations are a popular choice among homeowners due to their versatility and timeless appeal.
Choosing the Right Wood Fence Panels
When it comes to selecting wood fence panels for your home, there are several factors to consider:
1. Wood Type
- Popular wood options for fence panels include cedar, pine, and redwood.
- Cedar is known for its natural resistance to decay and insects, making it a durable choice.
- Pine is a budget-friendly option, but it may require more maintenance over time.
- Redwood offers a rich, attractive appearance and excellent durability.
2. Panel Style
- Choose a panel style that complements the architecture of your home and enhances its curb appeal.
- Popular styles include picket, privacy, shadowbox, and lattice.
- Picket fences are great for a classic, charming look, while privacy fences provide seclusion and security.
Preparing for Installation
Proper preparation is key to ensuring a successful wood fence panel installation:
1. Check Local Regulations
- Before installing a fence, check with your local government for any zoning restrictions or permit requirements.
2. Gather Tools and Materials
- Essential tools for installation may include a post hole digger, level, hammer, nails, and screws.
- Materials needed typically include fence panels, posts, concrete mix, and gravel.
Installing Wood Fence Panels
Follow these tips and tricks for a successful wood fence panel installation:
1. Set Up Posts
- Determine the spacing for your posts based on the size of your panels.
- Use a post hole digger to create holes for the posts, ensuring they are deep enough for stability.
- Fill the holes with gravel for drainage, then add concrete mix for added support.
2. Install Panels
- Attach the panels to the posts using nails or screws, ensuring they are level and secure.
- Consider using brackets for additional support if needed.
3. Apply Finish
- Once the panels are installed, consider applying a finish to protect the wood from weathering and enhance its appearance.
- Stain or paint the fence in a color that complements your home's exterior for a cohesive look.
Maintaining Your Wood Fence
Proper maintenance is essential to prolonging the life and beauty of your wood fence panels:
1. Regular Cleaning
- Remove dirt, debris, and mildew from your fence panels periodically to prevent damage.
- Use a mild detergent and water to clean the panels, then rinse thoroughly with a hose.
2. Inspect for Damage
- Check your fence regularly for any signs of damage, such as warping, rot, or loose panels.
- Address any issues promptly to prevent them from worsening.
3. Refinish as Needed
- Depending on the finish used, you may need to refinish your fence every few years to maintain its appearance and protection.
- Sand the surface, apply a new coat of stain or paint, and seal the wood for long-lasting results.
Final Thoughts
Enhancing your home's curb appeal with beautiful wood fence panels is a rewarding project that can transform the look and feel of your outdoor space. By choosing the right panels, following proper installation techniques, and maintaining your fence, you can enjoy a stunning and functional addition to your property for years to come.