Wooden crates are versatile and inexpensive items that can be transformed into stunning DIY projects with a little creativity. Whether you have access to a supplier or simply want to repurpose old crates lying around, there are endless possibilities for creating unique and functional pieces for your home. In this article, we will explore various ways to unleash your creativity and turn wooden crates into beautiful and practical items.
Choosing the Right Wooden Crates
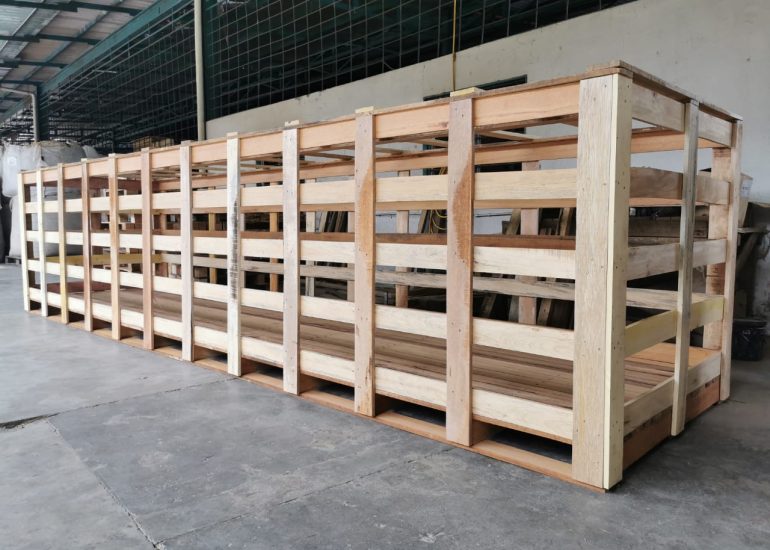
Before starting your DIY projects, it's essential to choose the right wooden baskets from a supplier. Here are some tips to help you select the perfect crates for your creations:
Size and Shape
- Consider the size and shape of the crates based on your project requirements.
- Choose crates that are sturdy and in good condition to ensure durability.
- Opt for crates with a smooth surface for easier painting and customization.
Quantity
- Determine the quantity of crates needed for your project to avoid running out of supplies.
- Buy in bulk from a supplier to save money and have extra crates for future projects.
DIY Project Ideas with Wooden Crates
Once you have selected the right wooden crates from a supplier, it's time to unleash your creativity and start transforming them into stunning DIY projects. Here are some ideas to get you inspired:
1. Bookcase
- Stack wooden crates vertically or horizontally to create a stylish bookcase.
- Add a coat of paint or stain to match your home decor.
- Use the compartments to store books, decorations, or plants.
2. Side Table
- Attach wooden crates together to form a sturdy side table.
- Add wheels to create a mobile table that can be easily moved around.
- Decorate the top with a piece of glass or a wooden board for a polished look.
3. Wall Shelves
- Mount wooden crates on the wall to create unique and functional shelves.
- Arrange the crates in various configurations to fit your space and style.
- Display photos, plants, or other decorative items on the shelves.
Customizing Wooden Crates
Personalizing wooden crates is a fun and creative way to make your DIY projects stand out. Here are some ideas for customizing wooden crates:
Painting
- Use acrylic or spray paint to add color to wooden crates.
- Experiment with different techniques such as ombre, stenciling, or distressing for a unique look.
Stenciling
- Create custom designs on wooden crates using stencils and paint.
- Personalize the crates with initials, quotes, or patterns that reflect your style.
Decoupage
- Decorate wooden crates with decoupage by adhering paper or fabric with glue.
- Choose colorful or patterned materials to enhance the look of the crates.
Tips for Working with Wooden Crates
Working with wooden crates can be a rewarding experience, but it's essential to keep a few tips in mind for successful DIY projects:
1. Sanding
- Sand wooden crates before painting or staining to create a smooth surface.
- Remove any rough edges or splinters to prevent injuries.
2. Sealing
- Apply a coat of sealant to protect wooden crates from moisture and damage.
- Choose a sealant that is suitable for indoor or outdoor use, depending on your project.
3. Safety
- Wear protective gear such as gloves and goggles when cutting or sanding wooden crates.
- Work in a well-ventilated area to avoid inhaling fumes from paint or sealant.
Conclusion
Transforming wooden crates from a supplier into stunning DIY projects is a creative and rewarding process that allows you to unleash your imagination and craftsmanship. Whether you're making a bookcase, side table, or wall shelves, there are endless possibilities for repurposing wooden crates in unique and functional ways. By following the tips and ideas in this article, you can create beautiful and personalized pieces that add character to your home.